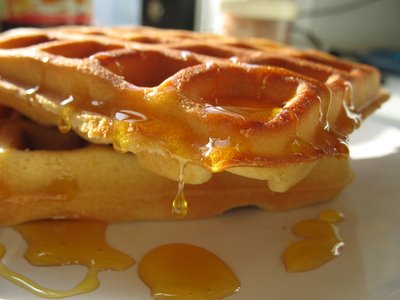
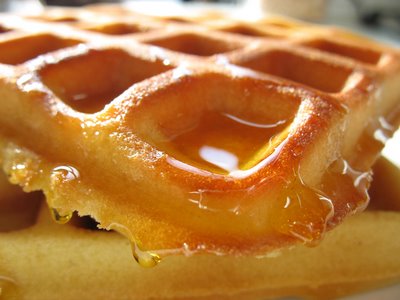
waffle...with...syrup
(The full picture where the banner was cropped from)
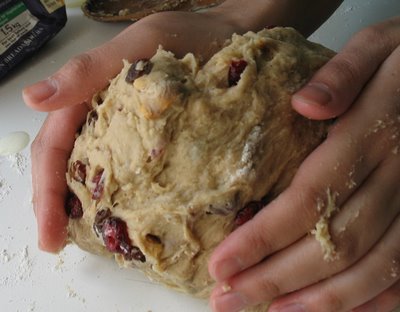
From the start, I'd always had the intention to make my blog look like mine, but then you begin to find that other silly small things get in the way like writing or cooking. Grrr. The template I had was passable but you could see the very same colour scheme and banner on a trillion other blogs. But I finally managed it, one very industrious morning. The kind where you sit down to work, still in your bathrobe, before you've even had coffee or breakfast and end up working until the afternoon without even noticing the time, let alone your state of undress.
Well, at least I managed it partially, in the ways that matter most. In doing this I feel like I've forged a touch more identity and hopefully sometime in the future (I'm refraining from using the words "not too distant" here because I'm really not sure), the layout will be entirely my own design. What mattered most was changing the banner image to something appropriate and beautiful. Really, there was only one option succinct enough to define what this blog is.
Waffles are my favourite food ever. Some of my fondest childhood food memories are of my mother making them in her charming, brick-red Tefal waffle iron (I'll grace you with a picture some day) which was one of those every-housewife's-dream gadgets at the time. It came complete with sandwich toaster plates and grilling plates from Family Circle magazine, along with the wrong instructions - or so the story goes. It has been with her for just about the same amount of time as I have.
Just able to see over the counter, I'd strain to watch this machine turn out these steamy, spongy squares, the kitchen redolent with an aroma not dissimilar to a baking sponge cake. We would eat them standing up in the kitchen, and as I hazily recall, unadorned. The syrup came later in life, along with thick chocolate spreads that stuck in the roof of your mouth and required the waffle to be devoured using utensils.

Practically every time I go back to my parents' home, my mum will dust off the waffle iron and I'll mix up a batch of batter for breakfast. They are nothing like the waffles of Brussels, I know this. They do not possess that yeast-inflated texture, or contain the dried pools of crystal sugar within their walls. But to me they are just as sublime and they taste no different to the ones I ate as a child, or at least I'd like to think they don't.
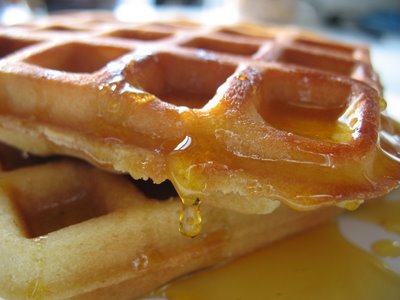
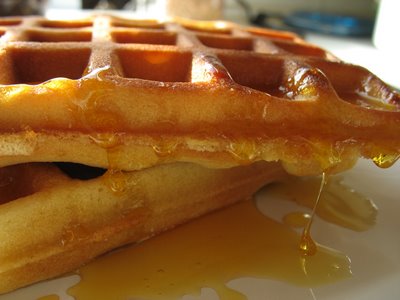
The ones pictured here were made at home and transported back to London. They were, more fancily put, cryogenically preserved until I woke up to the sunniest morning I'd seen all year. That's when I knew it was time to implement the syrup bottle. Sadly, I knew I would only be able to use part of the image, which is why I wanted to show you the finest results from the shoot in all their sun-kissed glory. The recipe below is not a defining method for making waffles by any means, but I'm rather attached to it. It comes from an equally old Bamix cookbook and is therefore in imperial measurements. I've listed the metric ones because I'm lovely like that.
Waffles (makes 4-5 square ones)
- 4½ oz. (130g) Unsalted butter
- 4½ oz. (130g) Plain flour
- 4½ oz. (130g) Caster sugar
- ½ tsp. baking powder
- 3 eggs (preferably free range)
As with any kind of sponge cake: cream the butter and sugar together until voluminous. Beat the eggs in, one at a time until blended and then sift in the flour and baking powder, incorporating gently with a folding motion. Ladle the batter onto an awaiting waffle iron (the amount varies depending on your machine - trial and error is usually the way to dose the perfect amount) and cook until they feel springy (their done-ness is your call - some people like their waffles more crisp than others). What you eat your waffle with is your business. No rosettes will be awarded, however, for guessing what I like mine with.
posted by Monaz @ 8:54 PM
3 comments
![]()


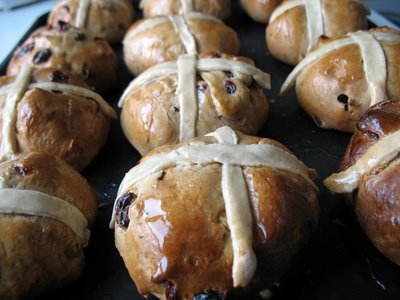
 aren't they pretty?